THE SHORT ANSWER
Set up your scenes and sound in OBS. Put the buttons your team needs together in DeckPilot, then try them all before the service starts.
Start with your order of service
When you’re checking a camera or helping the worship team, the next scene change can’t always wait for you to get back to the desk. Keeping the controls on your phone lets you make that change from where you are.
Here’s one way to set up for Sunday. Use it as a starting point, then choose the scenes and timings that fit your service.
- Before the service: Have your welcome slide ready while you check the cameras and sound.
- Worship: Keep the choir or worship camera buttons and sound controls easy to reach.
- Message: Have the main camera and presentation ready. Check the speaker’s microphone before they begin.
- Closing: Show the closing slide, check that the service has finished, then stop the stream.
1. Set up OBS and connect your phone or tablet
Create your scenes and add your microphones in OBS first. Use names a volunteer can understand at a glance, such as Welcome Slide, Worship Camera, Main Camera, Presentation and Closing Slide. DeckPilot will use the scenes you’ve set up in OBS.
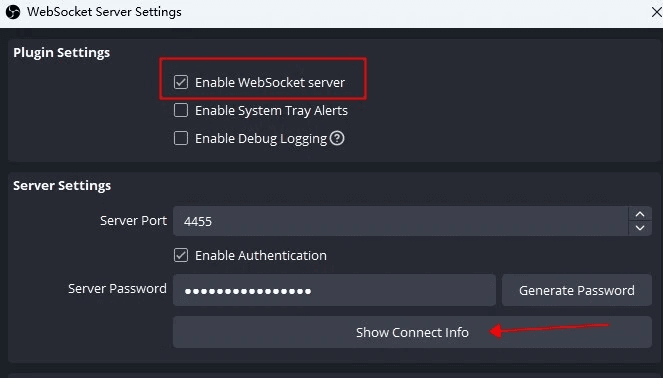
Connect your Android phone or tablet to the same network as the OBS computer, then connect DeckPilot. Keep the computer plugged in, awake and running OBS. Try the connection from the spot where you’ll be during the service.
A phone is easy to carry when you’re moving around. A tablet gives you more room to see the scenes and sound controls together. Choose whichever suits the person running the stream.
2. Keep scenes and audio together
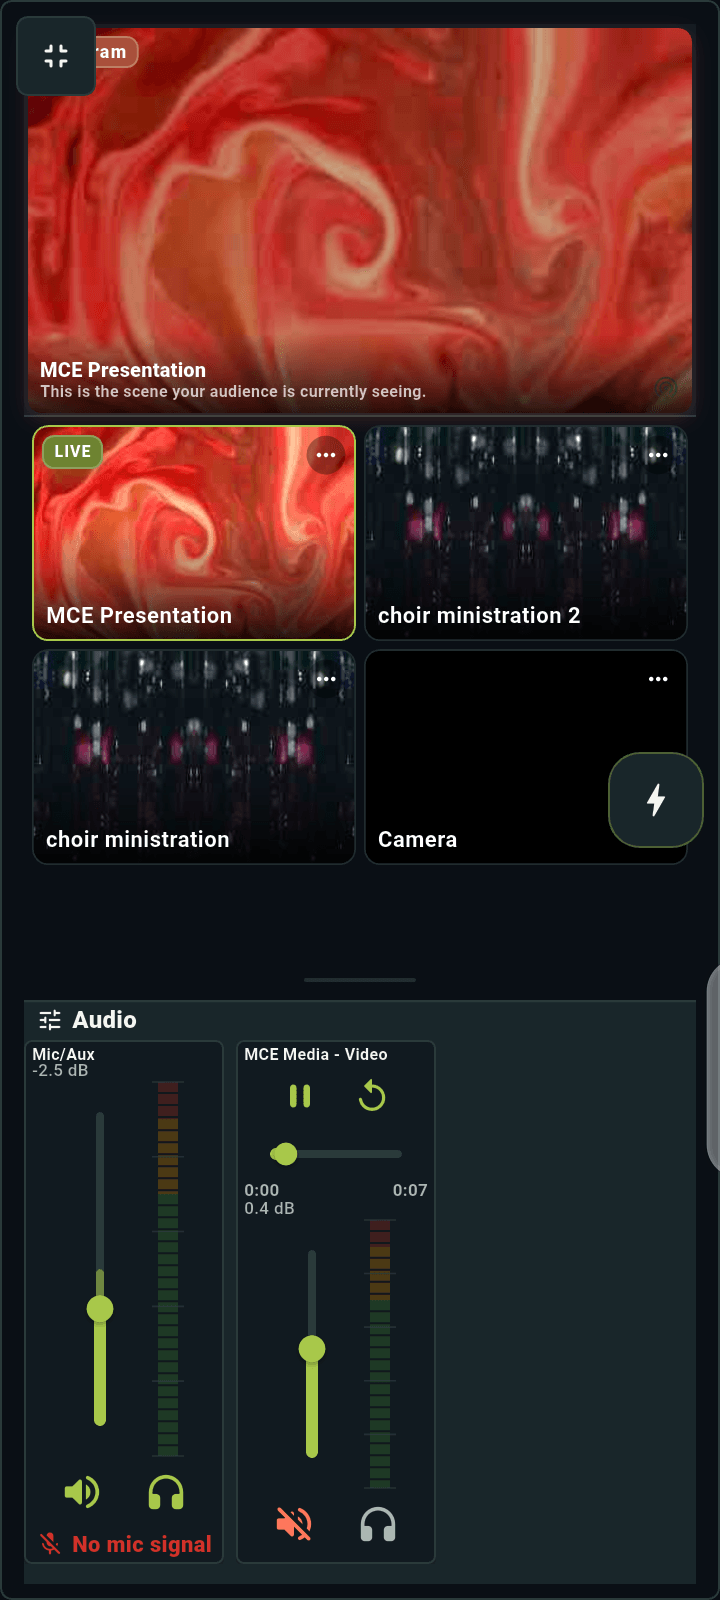
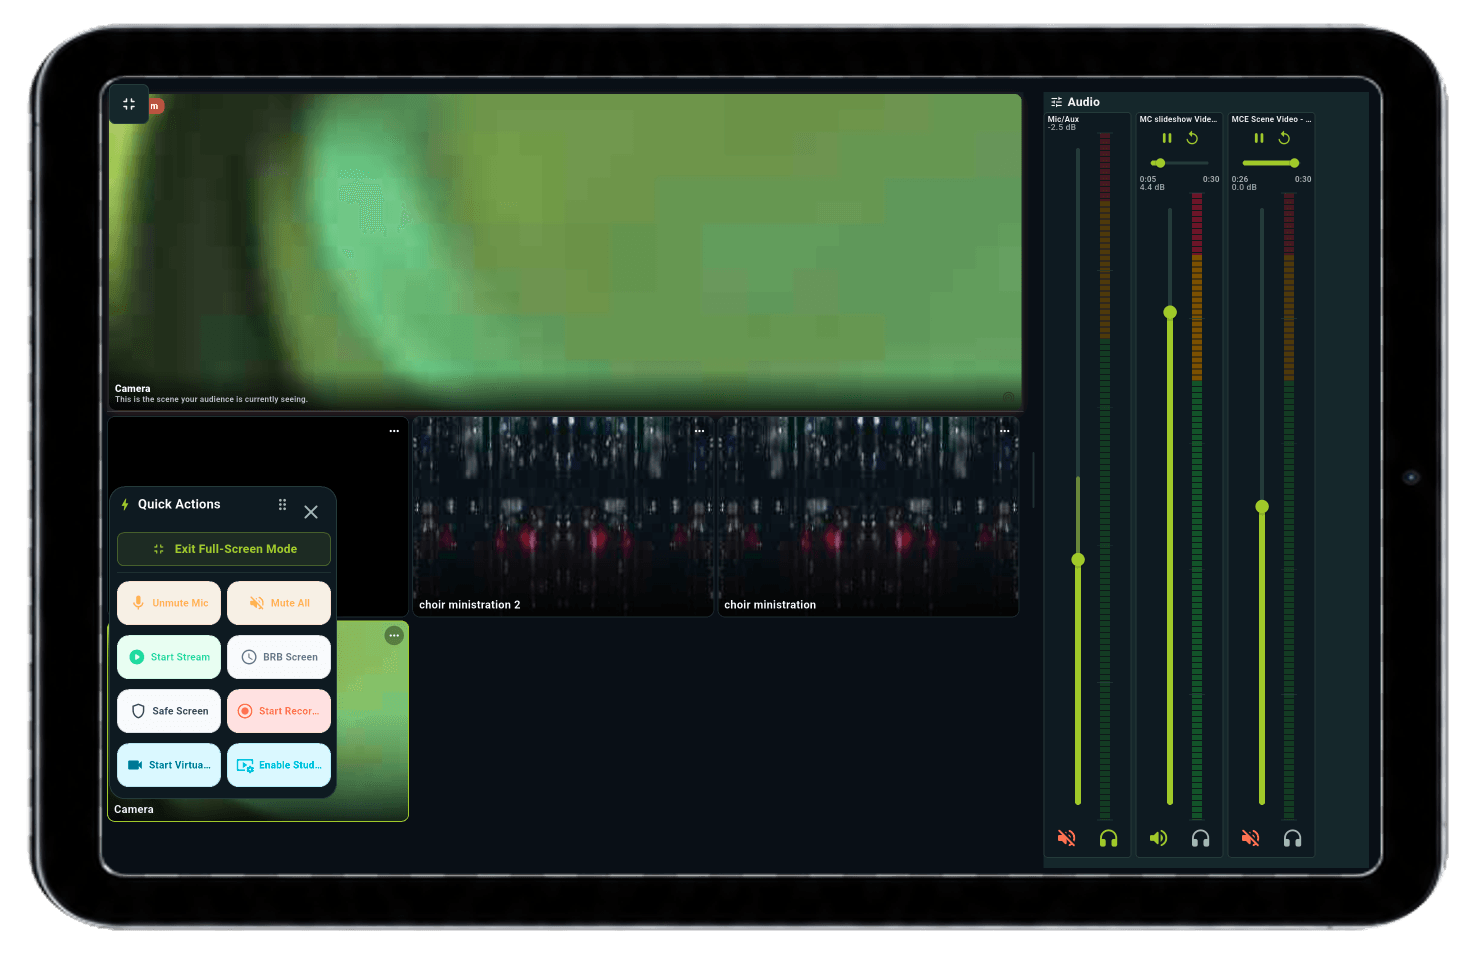
On Home, tap the full-screen icon. You can see the live picture and choose your next scene from the thumbnails. If you use Studio Mode, remember that Preview is the scene you’re preparing. Program is what your audience sees. Use the transition control when you’re ready to switch.
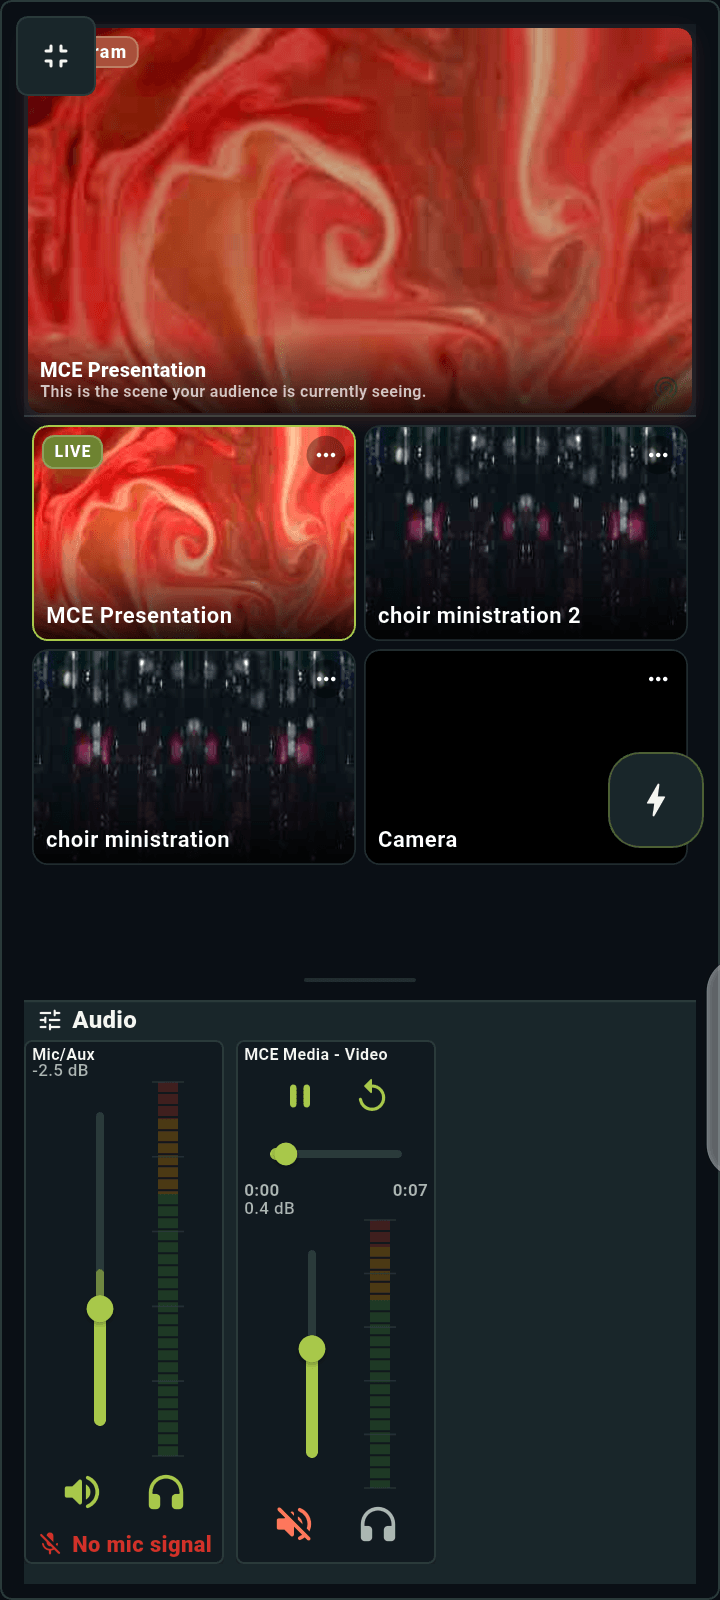
What sounds good in the room may not sound the same on the stream. Tap Audio at the bottom of the app, or use the sound controls in full-screen mode. Check the name beside each slider before you change its volume or mute it.
- Listen to the stream. The moving meters show that sound is coming in, but they can’t tell you whether it sounds right. Use your usual headphones or speakers to listen to the broadcast.
- Make the names clear. Name each sound source in OBS so volunteers can tell the speaker’s mic from the worship mix or a video’s sound.
- Check Quick Actions before using them. Know what each shortcut does. Start Stream, Stop Stream and the recording buttons control the real broadcast or recording.
3. Do a few actions with one tap
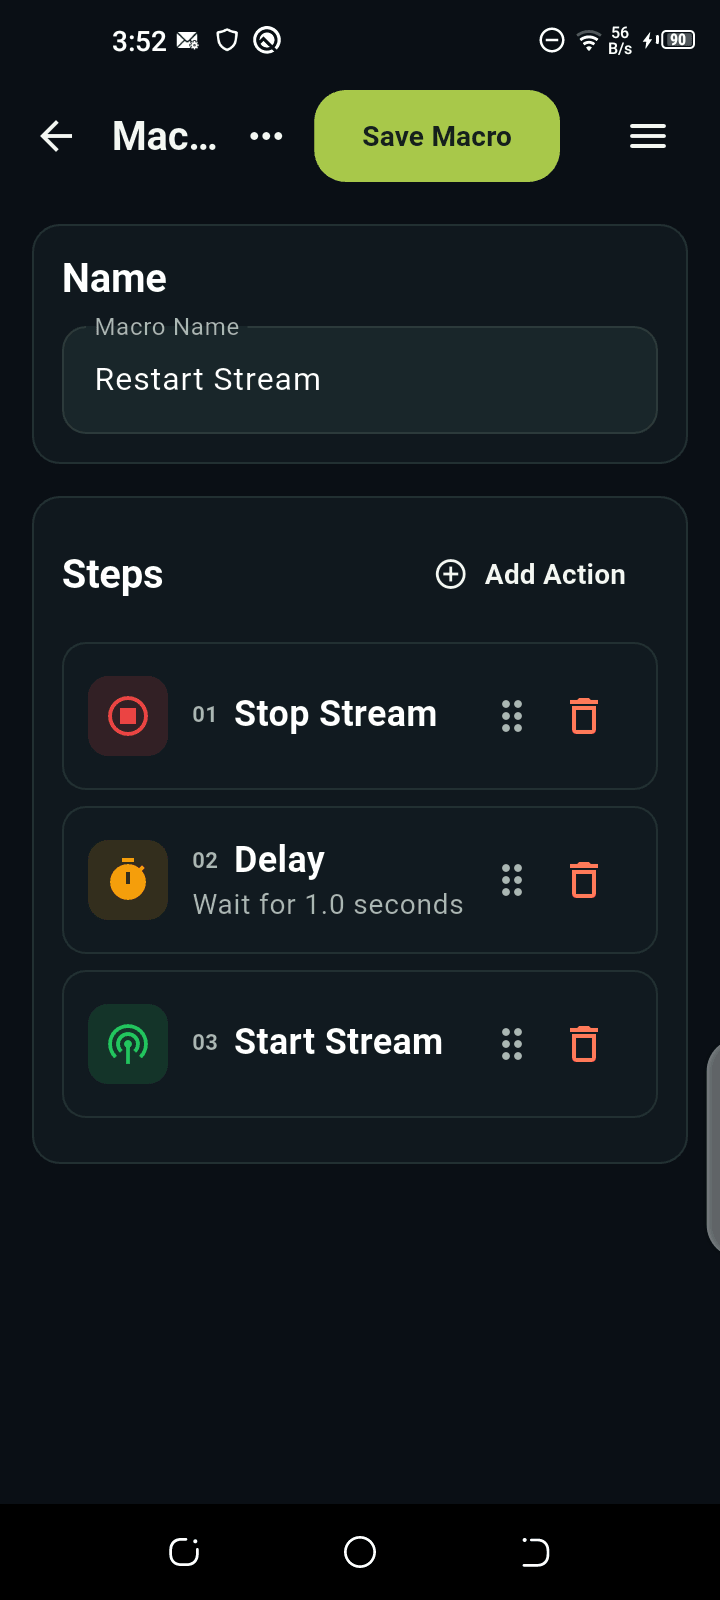
Do you always make the same changes before the message? A macro can do them together. For example, you could create one called Message Ready that switches to the main camera and unmutes the speaker’s microphone.
- Open Macros, tap Create Macro and name it Message Ready.
- Tap Add Action → Switch Scene and choose your main camera scene. Add another action, choose Unmute and select the speaker’s microphone.
- Check the order of the actions. If you add a Delay, it simply waits for that amount of time—it doesn’t check whether the previous action has finished.
- Tap Save Macro, then try it before the service. Watch OBS to check that both actions work. Put the scene and microphone back to their starting settings afterwards.
4. Give volunteers one clear control page
A volunteer may only need a few buttons for the whole service. With Pages, you can put those buttons together so they don’t have to search through every control. Add the scenes, sound controls and macros they’ll actually use.
- Open Pages → Add New Page. Name it Sunday Service, choose a layout and create the page.
- Open Edit Mode and tap an empty + slot. Name the button Camera, choose Switch Scene, then set Scene Target to the camera scene you want.
- Save the button and add the other controls you need. Tap Done when you’re finished. Keep buttons such as Stop Stream away from ones you’ll tap often.
- Go back to Home, enter full-screen mode and swipe across until your new page appears. Try each button before using it during a live service.
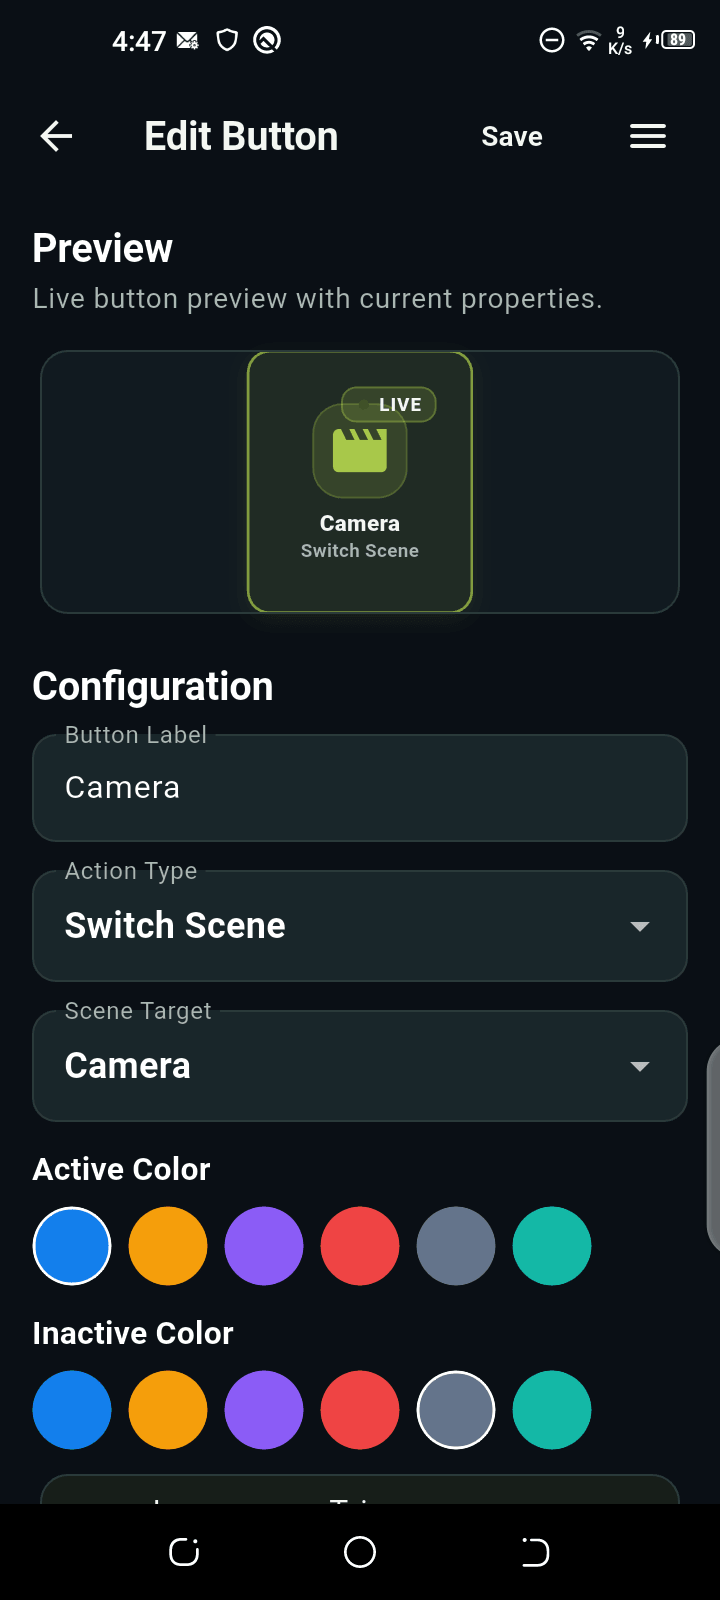
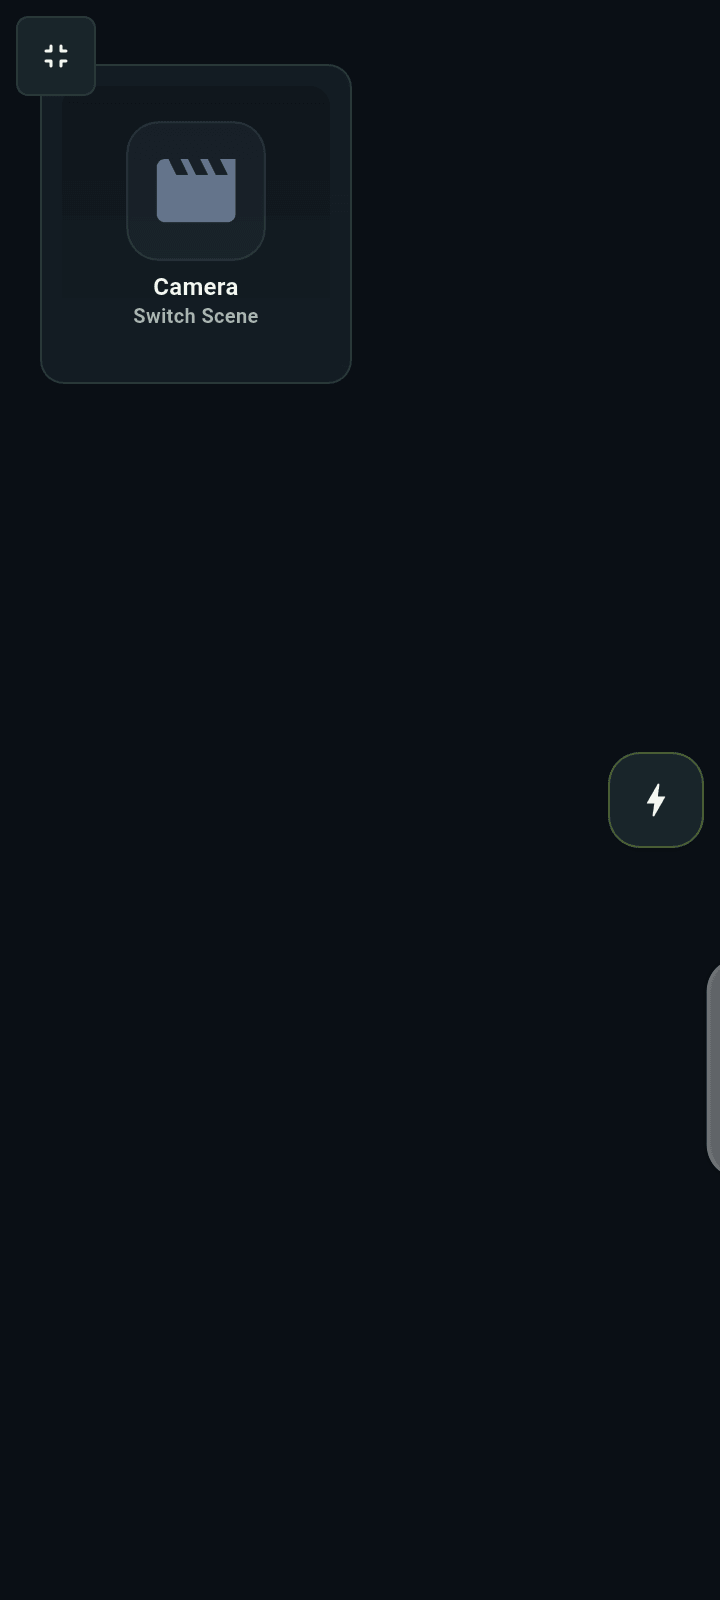
The example above is called Show Controls and has one Camera button. You can follow the same steps to make your Sunday Service page. Some page and macro options depend on your app version and plan, so check what’s available in your app as you set up.
5. Try everything before the service starts
- Connection: Can you still control OBS from where you’ll be standing? Check that you have the right computer and scenes open.
- Picture: Does each scene button show the camera or slide you expect? Check Program, not just Preview.
- Sound: Listen to the speaker’s mic, worship sound and any videos on the stream. Put all volumes and mute buttons back where they should be after testing.
- Macros and pages: Try each saved button and macro. If someone renamed or removed a scene or microphone in OBS, update any button that uses it.
- Power and backup: Charge the phone or tablet, keep the computer awake and agree who will go back to the desk if the connection drops.
Once the service starts, stick to the page you’ve practised with. Save any changes to the layout for afterwards, and keep checking what your audience can see and hear.
If something looks different in your app or you’re stuck on a step, contact DeckPilot support. Tell us what you’re seeing and we’ll help you find the next step.
DeckPilot works with OBS Studio. It isn’t made by the OBS Project.